Title: Part 2 – Replacing Our Off-Grid Inverter and Charge Controllers | Pallet Inverter | DIY
Meta Description: In Part 2 of our Off-Grid Inverter and Charge Controllers series, we continue the DIY process of replacing our existing system with a new one. Learn how to do it yourself and save money on maintenance costs. Watch now and discover the benefits of using a pallet inverter for your off-grid system.
Script:
[Introduction]
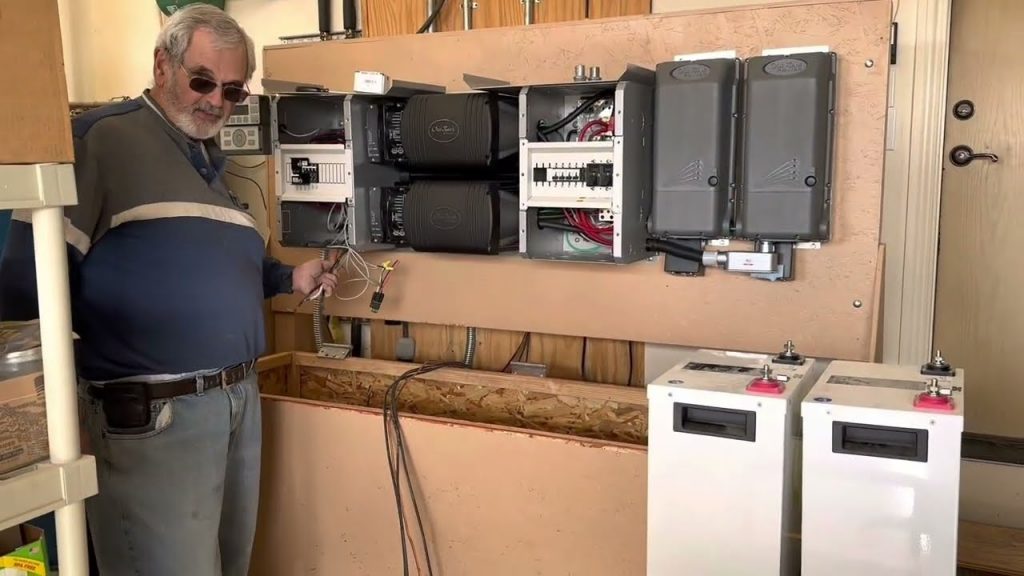
Hey, everyone! Welcome back to our Off-Grid Inverter and Charge Controllers series. In Part 1, we showed you how to remove the old equipment and prepare for the new system. Today, we’ll continue with Part 2 and install the brand new inverter and charge controllers.
[Body]
As we mentioned in the previous video, we’re upgrading our off-grid system to a more efficient and reliable one. The new inverter and charge controllers are key components that will help us achieve this goal. In this video, we’ll show you the step-by-step process of replacing the old equipment with the new one.
We’ll start by unboxing the new equipment and inspecting it for any damages. Then, we’ll show you how to mount the components and connect the wires. We’ll also cover how to program the settings and test the system to ensure it’s working correctly.
One of the benefits of using a pallet inverter is that it can handle heavy loads and protect the batteries from overcharging or discharging. We’ll explain how it works and why it’s essential for an off-grid system.
[Conclusion]
That’s it for Part 2 of our Off-Grid Inverter and Charge Controllers series. We hope you found this video helpful and informative. Don’t forget to subscribe to our channel for more DIY projects and tips. If you have any questions or comments, leave them below. And if you’re interested in using a pallet inverter for your off-grid system, check out the leading manufacturers for professional solutions. Thanks for watching! Orbital Stretch Wrapper
Related posts:
 “Managing Life in a Construction Site: A Real-Life Vlog”
 “Mastering Advance Steel Connections – Part 2 | Episode 068”
 “Maximizing CNC Efficiency: An Easy Guide to Automatic Pallet Changer Recovery”
 “Maximizing Efficiency with a Rotary Table Auto Pallet Changer Demo”
 “Revolutionize Your Workflow with an Automated Pallet Changer for CNC Machines”
 “Revolutionize Your Yogurt Production with the Innovative V-Shape Pallet Changer”
 “Revolutionize Your Pallet Changing Process with the PW 500”
 “Efficient Machining with a CNC Vertical Machining Center and Pallet Changer”
 “Maximizing Your Mill’s Efficiency with the VC-400ss Pallet Changer for Rapid Design UR10e Tending”