
Check out the leading manufacturer for professional coil packing solutions right here:
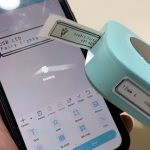
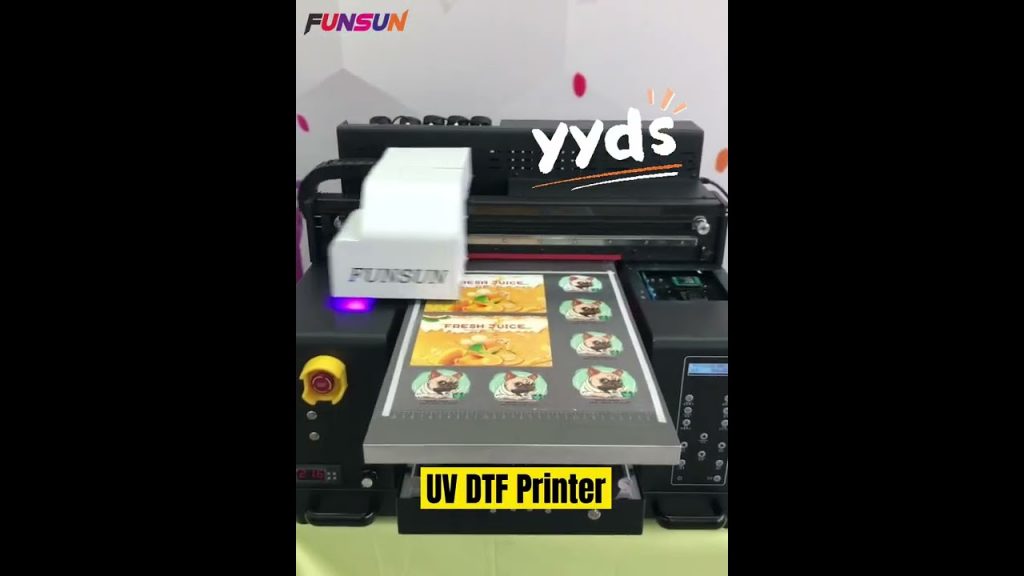
Sticker Printer Machine-Mug Customization Steps: Funsun 2022 New A3 UV DTF Printer
Are you looking to add a touch of personalization to your mugs? Imagine having the ability to create custom designs and print them directly onto your mugs with ease. With the Funsun 2022 New A3 UV DTF Printer, you can turn this imagination into reality. This innovative sticker printer machine not only serves as a normal UV printer but also offers UV capabilities, making it a versatile tool for various printing purposes.
In this article, we will guide you through the step-by-step process of customizing mugs using the Funsun 2022 New A3 UV DTF Printer. Whether you are a beginner or an experienced user, this guide will help you harness the full potential of this incredible machine.
Step 1: Prepare Your Design
Before diving into the printing process, you need to prepare your desired design. This can be a logo, text, image, or any other creative artwork that you want to imprint on your mug. Ensure that the design is of high resolution and compatible with the printer's software.
Step 2: Set Up the Printer
Now that you have your design ready, it's time to set up the Funsun 2022 New A3 UV DTF Printer. Follow the manufacturer's instructions to assemble the machine correctly. Make sure all the components are securely connected and powered on.
Step 3: Load the Mug
Place the mug securely onto the printer's printing bed. Ensure that the surface of the mug is clean and free from any dust or debris. This will ensure a smooth and flawless printing process.
Step 4: Adjust the Print Settings
Using the printer's software, adjust the print settings according to your design and preferences. This includes selecting the appropriate color profile, resolution, and print size. Take your time to fine-tune these settings to achieve the best possible result.
Step 5: Print Your Design
Once you are satisfied with the print settings, click the print button to start the printing process. The Funsun 2022 New A3 UV DTF Printer will work its magic and transfer your design onto the mug. Sit back and watch as your customized mug comes to life!
Step 6: Remove and Inspect
After the printing process is complete, carefully remove the mug from the printer. Inspect the printed design to ensure it meets your expectations. If any adjustments or touch-ups are required, you can re-print the design.
Step 7: Cure the Printed Design
To ensure the longevity of the printed design, it is essential to cure it properly. Use a UV curing lamp or other appropriate curing methods recommended by the manufacturer. This will help the design adhere to the mug's surface and resist fading or peeling over time.
Step 8: Enjoy Your Customized Mug
Congratulations! You have successfully customized your mug using the Funsun 2022 New A3 UV DTF Printer. Now, it's time to sit back, relax, and enjoy your personalized creation. Whether it's a gift for a loved one or a unique addition to your mug collection, your customized mug is sure to leave a lasting impression.
In conclusion, the Funsun 2022 New A3 UV DTF Printer offers an incredible solution for sticker printing and mug customization. Its versatility and user-friendly interface make it an ideal choice for both beginners and experienced users. With the step-by-step guide provided in this article, you can confidently create stunning personalized mugs that stand out from the crowd.
So, why wait? Unleash your creativity and start customizing mugs with the Funsun 2022 New A3 UV DTF Printer today!
Check out the leading manufacturer for professional coil packing solutions right here: Labeling Machine
"Effortless Mug Customization and Label Printing with a Sticker Printer Machine - Simplified Steps Revealed!"
Related posts: