

Title: Ultimate Guide to Using a Food Sealing Machine for Food Storage | 30 Day Pantry Challenge
Description:
Introduction:
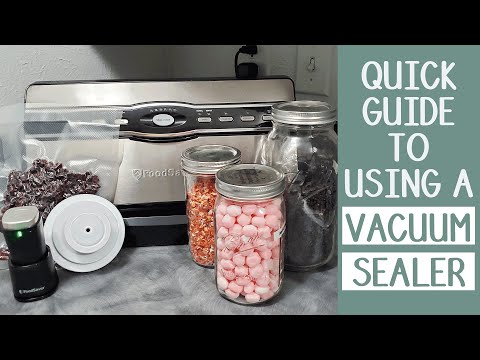
Welcome to the ultimate guide on using a food sealing machine for efficient food storage. In this comprehensive video, we will walk you through the basic steps of using a Foodsaver Vacuum Sealer, ensuring your food stays fresh for longer. Additionally, we invite you to join the exciting 30 Day Pantry Challenge, starting on February 01, 2020. Don't miss out - sign up now and get on the waitlist!
Video Content:
In this video, we will provide you with a step-by-step demonstration of how to use a food sealing machine effectively. With our quick guide, you'll learn the essential techniques to preserve your food's quality and extend its shelf life. Whether you're a seasoned pro or a beginner, this video will give you all the necessary information to make the most out of your Foodsaver Vacuum Sealer.
Key Highlights:
1. Introduction to the Food Sealing Machine: Understand the importance of using a food sealing machine and how it can benefit your food storage routine.
2. Unboxing and Setup: Learn how to unbox and set up your Foodsaver Vacuum Sealer, ensuring it's ready for use.
3. Preparing Food for Sealing: Discover the best practices for preparing your food before sealing, including portioning and proper packaging techniques.
4. Sealing Process: Get a detailed overview of the step-by-step sealing process, including adjusting settings, sealing bags, and creating an airtight seal.
5. Vacuuming and Sealing Containers: Explore how to use your food sealing machine to vacuum and seal containers, expanding your food storage options.
6. Maintenance and Cleaning: Understand the importance of regular maintenance and cleaning to ensure optimal performance and longevity of your machine.
Call to Action:
If you found this video helpful, please give it a thumbs up, subscribe to our channel for more informative content, and share it with your friends and family. Don't forget to click the notification bell to stay updated on our latest videos. Join the 30 Day Pantry Challenge now and revolutionize your food storage habits!
Additional Tags and Keywords: food sealing machine, Foodsaver Vacuum Sealer, food storage, 30 Day Pantry Challenge, vacuum sealing, preserving food, food preservation, airtight seal, efficient food storage, extending shelf life, food storage techniques, food sealing tutorial, food sealing tips, food sealing hacks, food storage solutions.
Hashtags: #FoodSealingMachine #FoodStorageTips #30DayPantryChallenge #VacuumSealing #FoodPreservation #EfficientFoodStorage
Title: Basic Quick Guide for Using a FoodSaver Vacuum Sealer for Food Storage
Introduction:
FoodSaver vacuum sealers are an excellent tool for extending the shelf life of your food and preventing spoilage. This quick guide will walk you through the basic steps of using a FoodSaver vacuum sealer for food storage, ensuring that your meals stay fresh and delicious for longer.
Step 1: Gather Your Supplies
Before you begin, make sure you have all the necessary supplies:
- FoodSaver vacuum sealer machine
- FoodSaver bags or rolls
- Scissors
- Marker or pen for labeling
Step 2: Prepare Your Food
Ensure that your food is clean and dry before vacuum sealing. Cut the food into suitable portions or sizes for storage. If you're storing liquids or soups, make sure to freeze them first in a container that fits the vacuum bag.
Step 3: Cut and Seal the Bag
Using the FoodSaver bags or rolls, cut a piece of appropriate size for your food. Leave enough space at the top of the bag for sealing. Seal one end of the bag using the built-in cutter and sealer on the FoodSaver machine.
Step 4: Load the Bag
Place your food portions into the bag, leaving enough space between them for proper sealing. Avoid overfilling, as this may prevent a proper vacuum seal.
Step 5: Vacuum Seal the Bag
Place the open end of the bag into the vacuum channel of the FoodSaver machine. Close the machine's lid and ensure it is securely locked. Press the vacuum/seal button to initiate the vacuum sealing process. The machine will automatically remove the air from the bag and seal it.
Step 6: Label and Store
Once the bag is sealed, use a marker or pen to label the contents and date of storage. This will help you keep track of what's inside and ensure proper rotation. Store the vacuum-sealed bags in a cool, dry place away from direct sunlight or extreme temperatures.
Step 7: Cleaning and Maintenance
After each use, make sure to clean the FoodSaver machine according to the manufacturer's instructions. Regular maintenance will ensure its longevity and optimal performance.
Conclusion:
By following these basic steps, you can effectively use a FoodSaver vacuum sealer for food storage. Enjoy the benefits of extended shelf life, reduced food waste, and fresher meals. Experiment with different foods and recipes to make the most out of your FoodSaver vacuum sealer. Happy sealing!Food Packing Machine
#Basic #Quick #Guide #Foodsaver #Vacuum #Sealer #Food #Storage
Related posts:


