Check out our website for more information and to download the STL file for 3D printing a KUKA arm with an industrial robot arm.
Title: 3D Print Your Own KUKA Arm: A Step-by-Step Guide
Introduction:
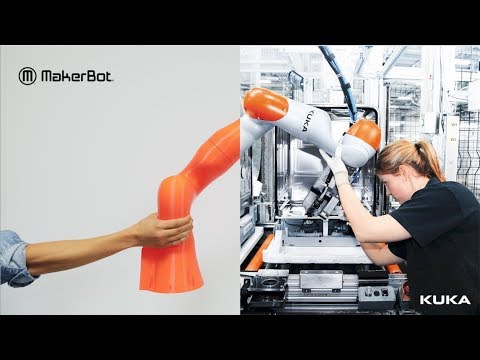
Are you fascinated by industrial robot arms and want to create your own? Thanks to the advancements in 3D printing technology, it is now possible to bring your dream to life. In this article, we will guide you through the process of 3D printing a KUKA arm using MakerBot’s resources. Read on for a step-by-step guide on how to get started.
Section 1: Understanding KUKA Robotic Arms
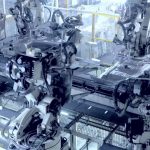
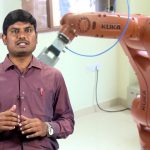
Before diving into the 3D printing process, let’s familiarize ourselves with KUKA robotic arms. These arms are known for their precision, flexibility, and efficiency. They are widely used in industries such as manufacturing, automotive, and aerospace. With their ability to perform repetitive tasks with high accuracy, KUKA arms have revolutionized the industrial sector.
Section 2: Exploring MakerBot’s Resources
MakerBot is a leading provider of 3D printing solutions, and they have made it possible for individuals to 3D print their own KUKA arm. Visit their website and navigate to the specific page where you can find all the necessary files and instructions. MakerBot’s user-friendly interface ensures a seamless experience for both beginners and experts.
Section 3: Downloading the STL File
To start the 3D printing process, you will need to download the STL file provided by MakerBot. This file contains the design specifications for the KUKA arm. Simply follow the link provided (https://www.makerbot.com/kuka) and click on the download button to get your hands on the file.
Section 4: Preparing Your 3D Printer
Now that you have the STL file, it’s time to prepare your 3D printer. Make sure your printer is compatible with the required specifications mentioned by MakerBot. If needed, calibrate your printer to ensure optimal printing results. This step is crucial as it determines the overall quality of your printed KUKA arm.
Section 5: Start the Printing Process
Load the downloaded STL file into your 3D printing software and adjust the settings according to your preferences. Select the appropriate material for printing and start the printing process. It is recommended to use a high-quality filament to ensure durability and strength in the final product.
Section 6: Post-Printing Finishing
Once the printing is complete, carefully remove the printed KUKA arm from the printer’s bed. Remove any support structures and perform any necessary post-processing steps, such as sanding or painting, to achieve the desired finish. Take your time to ensure the arm is free from any imperfections before moving on to the next step.
Section 7: Assembly and Testing
Follow the assembly instructions provided by MakerBot to put together your 3D printed KUKA arm. This step may vary depending on the specific model you have chosen. Once assembled, test the functionality of your arm by connecting it to a compatible controller. Enjoy the satisfaction of seeing your 3D printed KUKA arm come to life!
Conclusion:
By leveraging the power of 3D printing and MakerBot’s resources, you can now 3D print your own KUKA arm. This opens up a world of possibilities for enthusiasts and professionals alike. Whether you want to explore the capabilities of industrial robot arms or create custom solutions for your industry, 3D printing offers an accessible and cost-effective option. Start your journey today and unleash your creativity with 3D printed KUKA arms.
Check the coil packing solution with a leading manufacturer for the professional solution just here. Industrial Robot
“Revolutionizing Automation: Unleashing the Power of Cutting-Edge Robotic Arms in Manufacturing”
Related posts:
 “High-power Industrial Robot Welder with Cutting and Cleaning Demo: Boosting Welding Efficiency”
 “Innovative Precision: Unleashing the Potential of Industrial Robot Arms for Enhanced Manufacturing Efficiency”
 “Revolutionizing Stone Cutting: Enhanced Productivity and Safety with Innovative SawJet Robots”
 “Revolutionizing Manufacturing: The Power of Robotics & Automation in Industry 4.0”
 “Revolutionary Robotics: Unleashing Advanced AI for Safer and Efficient Industrial Automation”
 “Revolutionizing Mechanical Engineering: Unveiling the Game-Changing Industrial Robot – Affordable and Cutting-Edge!”
 “Advanced 6-Axis Industrial Robot with Optimized Control System for Sale”
 “Revolutionizing Pharmaceutical Industry: Streamlined End-of-Line Automation through Robotic Manufacturing”
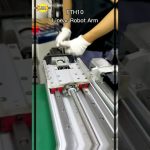 Assembly Live – Advanced Robotic Arm for Precise XYZ Table Manipulation