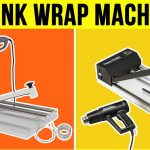
In this YouTube video, we will guide you through the process of shrink wrapping your sneakers using a heat shrinking machine. Shrink wrapping is a popular method for protecting and preserving various items, including shoes. By following our step-by-step instructions, you can ensure that your sneakers are securely wrapped and protected from dust, moisture, and damage.
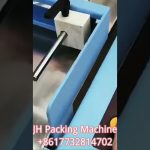
To begin, you will need a heat shrinking machine. These machines are specifically designed to shrink wrap items and are commonly used in industries such as packaging and logistics. They utilize heat to shrink a plastic film around the item, creating a tight and protective seal.
Before starting the shrink wrapping process, make sure that your sneakers are clean and dry. Any dirt or moisture on the shoes can affect the effectiveness of the shrink wrap.
1. Prepare the Shrink Wrap Film:
– Choose a suitable shrink wrap film for your sneakers. There are various thicknesses and types available, so select one that best suits your needs.
– Measure the length and width of your sneakers and add a few inches to each dimension to ensure that the film will fully cover them.
– Cut the shrink wrap film to the desired size using a pair of scissors.
2. Preheat the Shrink Wrapping Machine:
– Turn on the heat shrinking machine and set it to the appropriate temperature for the type of film you are using. Refer to the machine’s user manual for recommended settings.
– Allow the machine to preheat for a few minutes until it reaches the desired temperature.
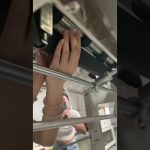
3. Position the Sneakers and Wrap:
– Place your sneakers in the center of the shrink wrap film, ensuring that they are aligned properly.
– Pull the film over the top of the sneakers, making sure it covers the entire shoe.
– Pull the film tightly around the sneakers, eliminating any excess slack.
– Secure the film by using a heat-resistant tape or by tucking the loose ends under the shoe.
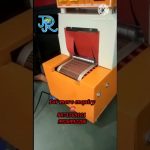
4. Shrink the Film:
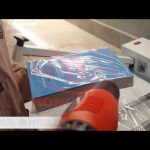
– Carefully place the wrapped sneakers onto the heat shrinking machine’s conveyor belt or platform.
– Activate the machine to start the shrinking process. The machine will apply heat evenly to the film, causing it to shrink and conform tightly to the shape of the sneakers.
– Allow the sneakers to pass through the machine until the entire film has shrunk and adhered to the shoes.
5. Inspect and Trim:
– Once the shrinking process is complete, carefully remove the sneakers from the machine.
– Inspect the shrink wrap to ensure there are no wrinkles or loose areas. If necessary, use a pair of scissors to trim any excess film.
Congratulations! You have successfully shrink wrapped your sneakers using a heat shrinking machine. Your sneakers are now protected and ready for storage or shipment. Remember to store them in a cool and dry place to maintain their condition.
Check the coil packing solution with a leading manufacturer for professional solutions. They can provide you with the necessary equipment and expertise to meet your specific needs. Shrinking Machine
“Effortless Sneaker Shrink Wrapping: Master the Technique with a Shrinking Machine”
Related posts: