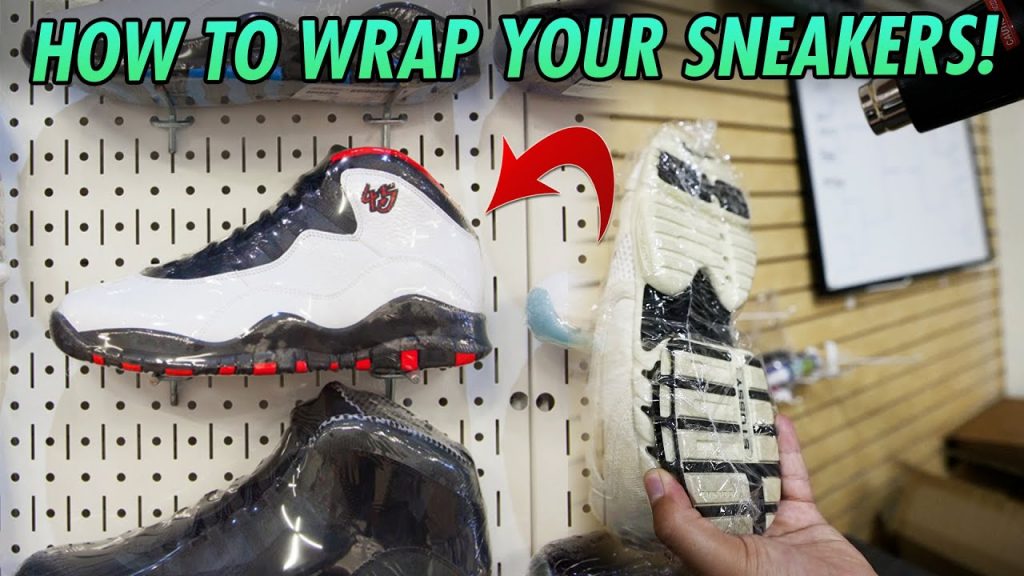
If you’re a sneaker enthusiast or own a sneaker store, you know how important it is to keep your sneakers clean and in pristine condition. However, with regular wear and tear, it can be challenging to maintain the quality of your sneakers. That’s where shrink wrap machines come in handy. In today’s video, I will show you how to easily shrink wrap your sneakers using a shrink wrap machine, providing you with a practical solution to prevent dirt and damage.
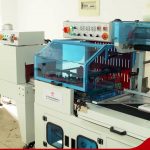
Shrink wrap machines have become increasingly popular in the sneaker industry due to their efficiency and effectiveness in preserving the quality of sneakers. These machines use a specialized plastic film that tightly wraps around the sneakers, providing a protective layer that prevents dirt, dust, and other elements from coming into contact with the shoes.
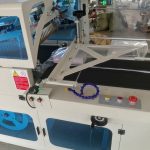
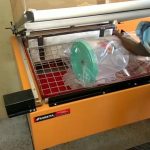
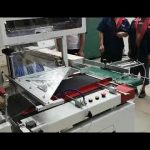
To start, you’ll need a shrink wrap machine and a roll of shrink wrap film. The machine works by heating the film, causing it to shrink and conform to the shape of the sneakers. This creates a secure and tight seal around the shoes, ensuring they remain clean and protected.
Here’s a step-by-step guide on how to shrink wrap your sneakers:
Step 1: Prepare your sneakers
Make sure your sneakers are clean and free from any dirt or debris. It’s essential to start with a clean surface to achieve the best results.
Step 2: Cut a piece of shrink wrap film
Measure and cut a piece of shrink wrap film that is slightly larger than your sneakers. This will ensure that the film adequately covers the entire shoe.
Step 3: Place the sneakers on the film
Position your sneakers in the center of the shrink wrap film, making sure they are aligned properly.
Step 4: Wrap the film around the sneakers
Carefully wrap the shrink wrap film around the sneakers, ensuring that it covers all areas of the shoes. Take your time to ensure a tight and secure fit.
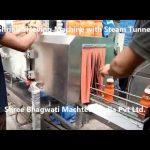
Step 5: Heat the shrink wrap film
Using the shrink wrap machine, apply heat to the film. The heat will cause the film to shrink and conform to the shape of the sneakers, creating a protective seal.
Step 6: Remove excess film
After the film has shrunk and adhered to the sneakers, trim any excess film using scissors or a knife. Be careful not to cut too close to the shoes, as this may damage the seal.
And there you have it! Your sneakers are now securely shrink wrapped, providing them with an extra layer of protection against dirt and damage. Whether you’re a sneaker store owner or a sneaker enthusiast who wants to preserve the quality of your collection, shrink wrapping is a simple and effective solution.
In conclusion, shrink wrap machines offer a practical and efficient way to protect your sneakers from dirt and damage. By following the steps outlined in this tutorial, you can easily shrink wrap your sneakers and ensure they remain in pristine condition. So why wait? Give shrink wrapping a try and see the difference it makes in preserving the quality of your sneakers.
Check the coil packing solution with a leading manufacturer for the professional solution just here: [Insert relevant anchor text or hyperlink to the manufacturer’s website] Shrinking Machine
“Master the Art of Sneaker Shrink Wrapping with This Step-by-Step Tutorial and a Compact Shrink Wrap Machine!”
Related posts:
 Discover the Enigma of Heat Shrinkable Film Wrapping with the Cutting-Edge Automatic Shrink Machine
 Understanding the Mechanics of Industrial Shrink Wrapping: A Comprehensive Guide
 “Enhanced Notebook Shrink Packaging Machine for Efficient Shrink-Wrapping Processes”
 “Innovative Solution: Highly Efficient Shrink Wrap Machine for Large PET Bottles”
 “Efficient Heat Shrink Machine: Advanced L-Type Scissor Sealer with Automatic Functionality”
 “Effortless Water Bottle Shrink Wrapping Machine: Simplify Packaging with Ease!”
 “Revolutionizing Packaging: Innovative Shrink Wrap Machines for Efficient Box and Bag Shrinking”
 “Innovative Steam-Powered Shrink Sleeve Labeling Machine for Enhanced Packaging Efficiency”
 “Enhanced Speed L-Type Sealer: Revolutionizing Industrial Shrink Packaging with Fully Automated L-Sealer & Shrink Tunnel”