

Check out our recommended coil packing solutions from leading manufacturers here:
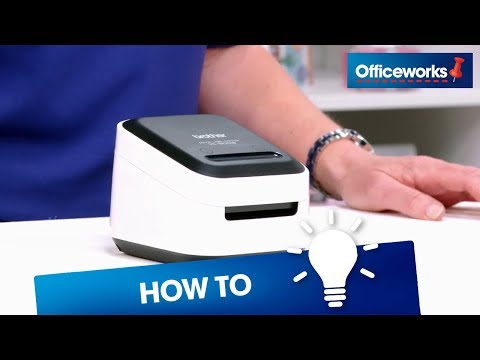
Are you struggling to set up your new Brother Label Printer? Don't worry, we've got you covered! In this video, we will guide you step-by-step on how to set up your new Brother Label Printer, specifically the Brother VC-500W Colour Label Printer. Whether you're a beginner or an experienced user, this tutorial will help you get your label printer up and running in no time.
Before we dive into the setup process, let's take a moment to understand the importance of having a reliable label printer machine. Label printers are essential for businesses of all sizes, enabling efficient and professional labeling for products, packages, and documents. With the right label printer machine, you can streamline your labeling process, enhance branding, and improve organization.
Now, let's get started with the setup process. Follow these simple steps to ensure a smooth installation:
1. Unboxing and Inspection:
- Carefully unpack your Brother Label Printer and inspect it for any physical damage.
- Ensure that all the necessary components, such as power cords and ink cartridges, are included in the package.
2. Power and Connectivity:
- Connect the power cord to the label printer and plug it into a power source.
- Check if your label printer supports wireless connectivity or if you need to connect it via USB. Follow the instructions provided by Brother to establish the connection.
3. Installing Ink Cartridges:
- Open the ink cartridge compartment and insert the provided ink cartridges. Make sure they are properly seated.
- Follow the on-screen instructions or refer to the user manual for ink cartridge installation specific to your Brother VC-500W model.
4. Loading Label Rolls:
- Open the label roll compartment and ensure that the label roll is properly aligned.
- Insert the label roll into the designated holders and feed the labels through the printer's guides.
- Close the label roll compartment securely.
5. Software Installation:
- Visit the Brother website or use the provided installation CD to download and install the necessary software for your label printer.
- Follow the on-screen instructions to complete the installation process.
6. Printer Calibration:
- Once the software installation is complete, calibrate your label printer by following the instructions provided by Brother.
- Calibration ensures accurate printing and optimizes the performance of your label printer.
Congratulations! You have successfully set up your new Brother Label Printer. Now, it's time to explore the various features and functionalities of your printer. Experiment with different label designs, sizes, and formats to meet your specific labeling needs.
In conclusion, a label printer machine is an indispensable tool for businesses seeking efficient and professional labeling solutions. The Brother VC-500W Colour Label Printer offers a user-friendly setup process, allowing you to quickly get started with your labeling tasks. By following the steps outlined in this tutorial, you'll be able to set up your Brother Label Printer with ease.
Remember, a well-functioning label printer machine can significantly improve your labeling process, enhance branding, and boost overall productivity. So, get started with your label printing journey today and make your business stand out with professional-looking labels!
Check out our recommended coil packing solutions from leading manufacturers here: [Link to recommended coil packing solutions]
Note: This article is for informational purposes only. The mentioned product, Brother VC-500W Colour Label Printer, is used as an example and does not imply endorsement or affiliation. Labeling Machine
"Effortlessly Setting Up a Wireless Colour Label Printer: Step-by-Step Guide for VC-500W Label Printer Machine"
Related posts:


: Unbeatable Labeling Machine Solution for Sale")


