
If you're a proud owner of a Singer Heavy Duty sewing machine, you understand the importance of keeping it clean and well-maintained. Regular cleaning not only ensures optimal performance but also extends the lifespan of your machine. In this quick tutorial, we will guide you through the process of cleaning your Singer Heavy Duty sewing machine, including removing the bobbin casing and adding sewing ... with Heavy Duty Handling Machine.
Cleaning your sewing machine may seem like a daunting task, but with the right approach, it can be a breeze. Follow these simple steps to keep your Singer Heavy Duty sewing machine in top shape:
Step 1: Gather Your Supplies
Before you begin, make sure you have all the necessary supplies at hand. You will need a soft lint-free cloth, a small brush, sewing machine oil, and a screwdriver (if required).
Step 2: Prepare Your Machine
Start by turning off your sewing machine and unplugging it from the power source. This step is crucial to ensure your safety while cleaning.
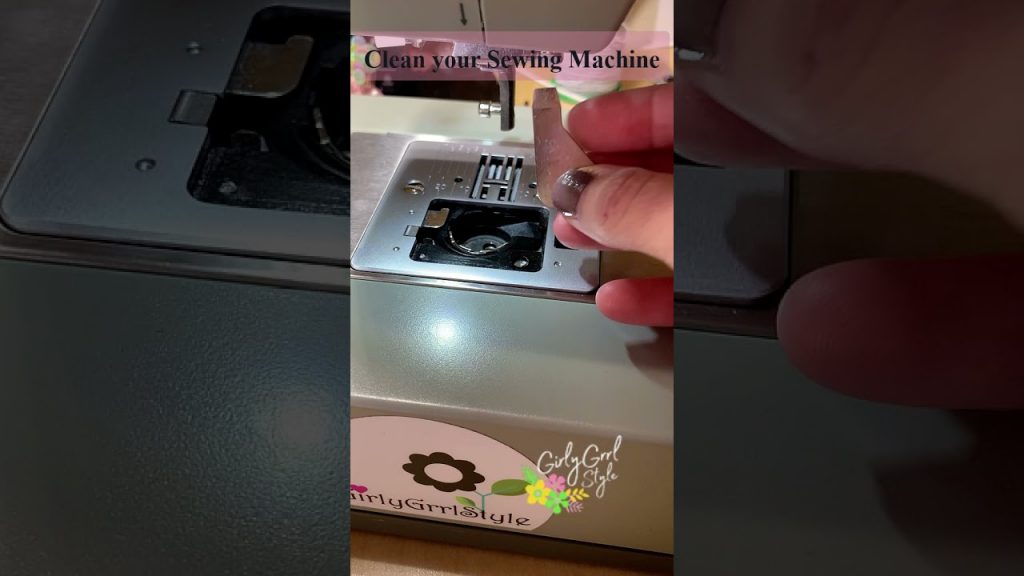
Step 3: Remove the Bobbin Casing
The bobbin casing is located beneath the needle plate. Use the screwdriver to carefully remove the screws holding it in place. Once the screws are removed, take out the bobbin casing and set it aside.
Step 4: Clean the Bobbin Casing
Take your small brush and gently remove any lint, dust, or thread remnants from the bobbin casing. Pay close attention to the areas around the bobbin and feed dogs. Use the brush to loosen any stubborn debris and then wipe it away with a cloth.
Step 5: Clean the Needle Plate
Next, clean the needle plate by removing any visible lint or debris. Be cautious not to use anything sharp that could damage the plate. A soft lint-free cloth should be sufficient to wipe away any dirt.
Step 6: Oil Your Machine
Using sewing machine oil, apply a small amount to the designated oiling points. Consult your machine's manual for specific instructions on where to oil. This step helps to lubricate the moving parts and keep them running smoothly.
Step 7: Reassemble the Bobbin Casing
Once you have completed the cleaning and oiling process, carefully reinsert the bobbin casing back into its original position. Use the screwdriver to secure it in place by tightening the screws.
Step 8: Test Your Machine
Before resuming your sewing projects, plug in your sewing machine and run a few test stitches to ensure everything is functioning correctly. If you notice any issues, double-check the bobbin casing and make sure it is installed correctly.
By following these simple steps, you can effectively clean and maintain your Singer Heavy Duty sewing machine. Regular cleaning not only improves performance but also prevents costly repairs and extends the lifespan of your machine.
Remember, proper maintenance is essential for any heavy-duty handling machine. It ensures smooth operation and reliable performance. If you encounter any difficulties or have specific concerns, consult your machine's manual or seek assistance from a professional.
Check the coil packing solution with a leading manufacturer for the professional solution just here: [Insert appropriate call-to-action and link to the manufacturer's website]. Handling Machine
"Efficient Maintenance for Your Heavy Duty Sewing and Handling Machine: A Step-by-Step Guide"
Related posts: