Labeling Machine - How to Adjust the Sensor
Introduction
Labeling machines are a crucial part of the packaging process for various industries. These machines ensure that products are labeled accurately and efficiently, saving both time and labor. However, like any other machine, labeling machines require proper maintenance and occasional adjustments to ensure optimal performance. In this article, we will discuss how to adjust the sensor of a labeling machine to ensure accurate labeling. Whether you are a novice or an experienced user, this guide will help you understand the process and troubleshoot any issues you may encounter.
Understanding the Sensor
Before we delve into the adjustment process, let's first understand the role of the sensor in a labeling machine. The sensor is a vital component that detects the presence of the product and triggers the labeling process. It ensures that the label is applied precisely at the desired location on the product. The sensor uses various technologies such as photoelectric, ultrasonic, or capacitive to detect the product's position.
Step-by-Step Guide to Adjusting the Sensor
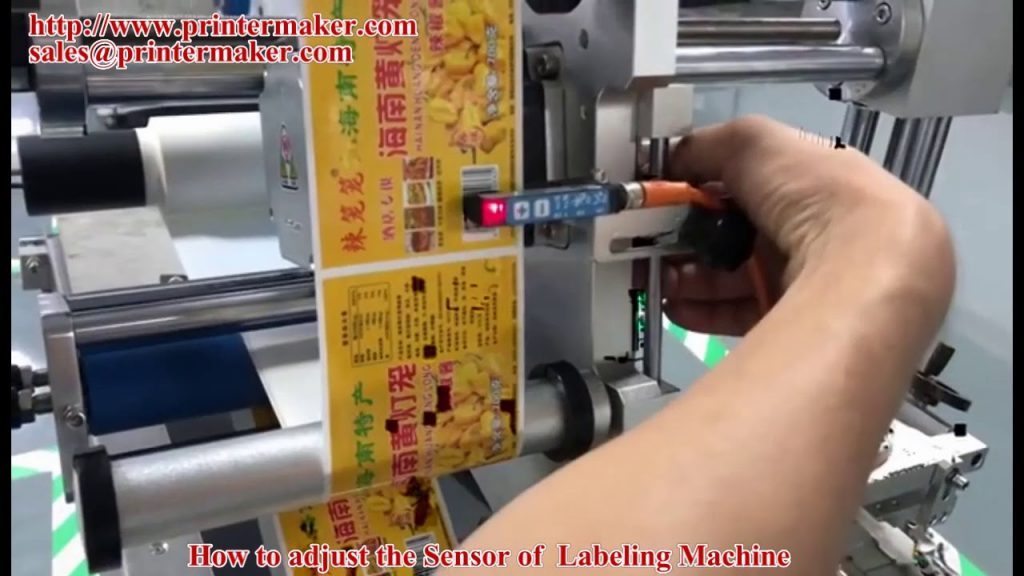
1. Identify the Sensor Location: The sensor is typically located near the labeling head or the conveyor belt. Familiarize yourself with the machine's manual or consult the manufacturer's website to locate the sensor.
2. Access the Sensor: Depending on the machine's design, you may need to remove a cover or loosen a few screws to access the sensor. Ensure that the machine is turned off before proceeding.
3. Check the Sensor Alignment: Inspect the sensor's alignment with the product. If the sensor is misaligned, it may not detect the product accurately, resulting in faulty labeling. Adjust the sensor's position to align it perfectly with the product's path.
4. Adjust Sensor Sensitivity: Most labeling machines allow you to adjust the sensor's sensitivity level. This adjustment is crucial to ensure that the sensor detects the product reliably. Refer to the machine's manual for instructions on adjusting the sensitivity and make the necessary changes.
5. Test the Sensor: Once you have made the adjustments, test the sensor by running a few sample products through the machine. Observe whether the sensor detects the products accurately and triggers the labeling process at the desired location. If the results are satisfactory, you have successfully adjusted the sensor.
Common Troubleshooting Tips
While adjusting the sensor, you may encounter some common issues. Here are a few troubleshooting tips to help you overcome them:
1. False Triggers: If the sensor triggers the labeling process even when there is no product, you may need to decrease the sensitivity level. Gradually reduce the sensitivity until the false triggers stop.
2. Missed Triggers: If the sensor fails to detect the product consistently, increase the sensitivity level. However, be cautious not to set it too high, as it may result in false triggers.
3. Sensor Cleaning: Dust, debris, or label residue can affect the sensor's performance. Regularly clean the sensor using a soft, lint-free cloth to ensure accurate detection.
Conclusion
Adjusting the sensor of a labeling machine is a crucial task that ensures accurate and efficient labeling. By following the step-by-step guide and troubleshooting tips provided in this article, you can adjust the sensor to achieve optimal performance. Remember to consult the machine's manual or contact the manufacturer for specific instructions related to your labeling machine model.
Check the coil packing solution with a leading manufacturer for the professional solution just here: [Insert manufacturer's website URL]. Labeling Machine
"Efficient Sensor Adjustment for Optimal Labeling Machine Performance"
Related posts:
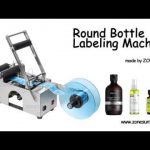 “Effortlessly Label Round Bottles with our Semi-Automatic Labelling Machine: A Comprehensive Guide”
 Innovative Round Bottle Labeling Machine: Enhance Product Appeal with Precision Sticker Application
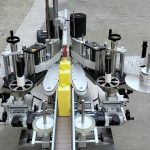 “Innovative Dual-Sided Flat and Round Bottle Labeling Machine: Efficient and Precise Automatic Labeler”
 “Revolutionize Your Kitchen with the Ultimate ₹990 Label Making Machine – Unbelievable Gadgets for Online Shopping in India!”
 “Innovative Labeling Machine Revolutionizes Glass Jar Sticker Application for Enhanced Efficiency”
 “Unboxing & Review: Sleek Bluetooth Label Maker with Rechargeable Battery – Boost Your Organization Effortlessly!”
 “Revolutionary Labeling Machine Delivery: Unparalleled Innovation to Outshine Competitors”
 “Innovative Label Weaving Machine: Revolutionizing Label Making with Enhanced Efficiency”
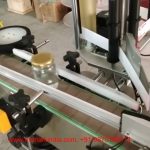
 “How to Efficiently Label Bottles with a High-Speed Adhesive Labeling Machine”