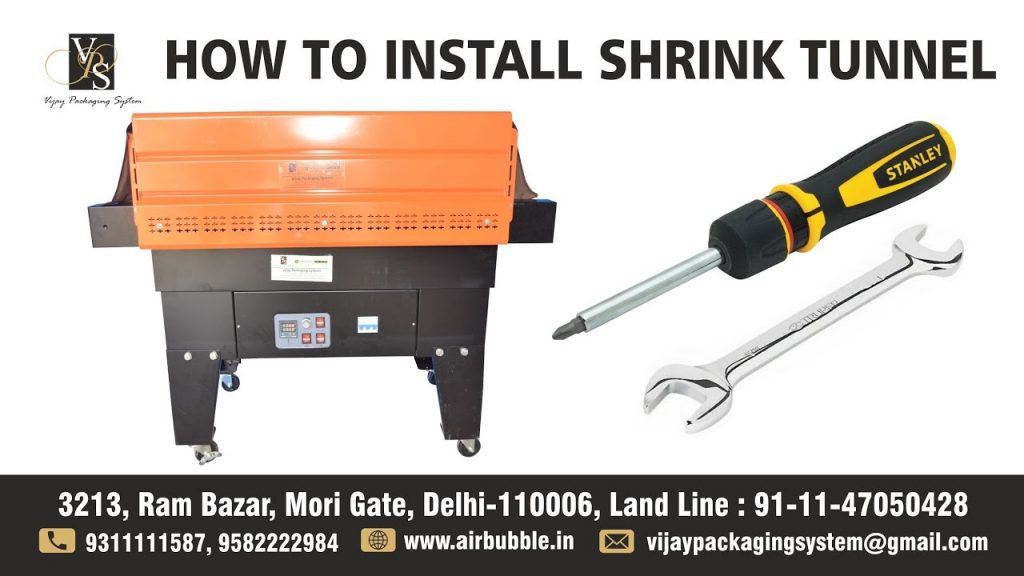
If you are in the packaging industry, you are likely familiar with the concept of shrink wrapping. Shrink wrapping is a popular method used to package products, providing protection and a professional look. In order to achieve the best results, a shrink tunnel machine is often used. In this article, we will explore the benefits of using a shrink tunnel machine and provide a step-by-step guide on how to install the Shrink Tunnel - Model VPS4525ST.
Shrink tunnel machines are designed to apply heat to shrink the wrapping film around a product. This process not only provides a tight and secure packaging, but also enhances the visual appeal of the product. Shrink tunnel machines are commonly used in industries such as food and beverage, pharmaceuticals, cosmetics, and electronics.
The Shrink Tunnel - Model VPS4525ST is a high-quality and efficient machine that is widely used in the packaging industry. This machine is designed to handle a wide range of products and packaging materials, making it a versatile choice for various industries. The VPS4525ST offers precise temperature control and adjustable conveyor speed, allowing for optimal shrink wrapping results.
Now, let's dive into the step-by-step guide on how to install the Shrink Tunnel - Model VPS4525ST:
Step 1: Unpacking and Inspection
Upon receiving your shrink tunnel machine, carefully unpack it and inspect all components for any signs of damage during transportation. Ensure that all parts are included and in good condition.
Step 2: Placement
Select a suitable location for your shrink tunnel machine. Make sure there is enough space for the machine to operate safely and efficiently. It is important to place the machine on a stable and level surface to prevent any vibrations during operation.
Step 3: Power Connection
Connect the machine to a reliable power source that meets the required voltage and frequency specifications. Ensure that the machine is properly grounded to prevent any electrical hazards.
Step 4: Conveyor Assembly
Assemble the conveyor system according to the manufacturer's instructions. Adjust the conveyor height and width to accommodate the size of your products.
Step 5: Heating Element Installation
Install the heating elements in the shrink tunnel according to the provided guidelines. Ensure that the elements are securely attached and in the correct position for optimal heat distribution.
Step 6: Temperature and Speed Settings
Set the desired temperature and conveyor speed on the control panel of the machine. It is recommended to start with lower settings and gradually increase them to achieve the desired results.
Step 7: Test Run
Before using the shrink tunnel machine for actual production, perform a test run with sample products. This will allow you to fine-tune the settings and ensure that the machine is operating correctly.
By following these steps, you can successfully install the Shrink Tunnel - Model VPS4525ST and start using it to shrink wrap your products. The machine's user-friendly interface and advanced features make it a reliable choice for all your shrink wrapping needs.
In conclusion, a shrink tunnel machine is an essential tool in the packaging industry. It provides a secure and visually appealing packaging solution for various products. The Shrink Tunnel - Model VPS4525ST offers advanced features and ease of use, making it a popular choice among packaging professionals. If you are looking for a reliable shrink tunnel machine, consider the Shrink Tunnel - Model VPS4525ST for your packaging needs.
Check the coil packing solution with a leading manufacturer for a professional solution just here. Shrinking Machine
"Effortlessly Mastering Shrink Tunnel Installation: A Comprehensive Guide to Model VPS4525ST and Shrink Tunnel Machines"
