Whether you are new to using strapping machines or simply looking for a refresher on how to feed plastic strapping onto a semi-automatic strapping machine, this article is for you. In this SEO-friendly YouTube video original article, we will provide step-by-step instructions and insights into loading strapping onto a popular semi-automatic strapping machine, the 3-GPSAS-303.
Strapping machines play a crucial role in many industries, ensuring that goods and packages are securely bundled for transportation or storage. The process of loading strapping onto a strapping machine may seem straightforward, but it is important to follow the correct procedures to ensure optimal performance and efficiency.
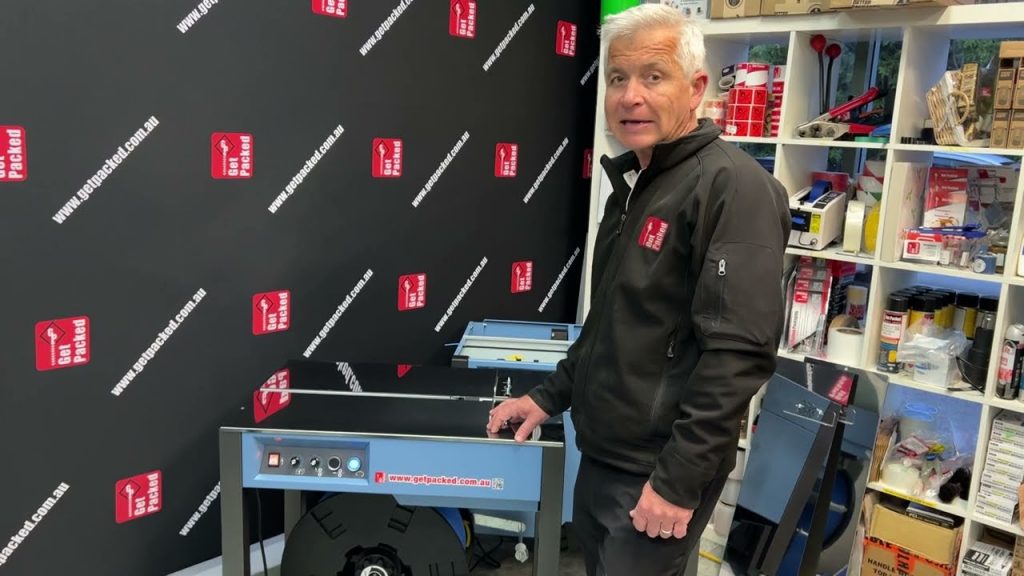
Before we dive into the specifics of loading strapping onto the 3-GPSAS-303, let's briefly discuss the machine itself. The 3-GPSAS-303 is a semi-automatic strapping machine known for its reliability and ease of use. It is designed to handle various types of plastic strapping, making it suitable for a wide range of applications.
Now, let's get into the step-by-step process of loading strapping onto the 3-GPSAS-303:
Step 1: Prepare your strapping
Before loading the strapping onto the machine, ensure that it is in good condition and free from any damage or defects. Cut the strapping to the desired length using a strapping cutter or scissors, taking into consideration the size of the package or bundle you will be strapping.
Step 2: Locate the strapping feed mechanism
On the 3-GPSAS-303, the strapping feed mechanism is typically located at the top of the machine. Look for the feed wheel or roller that will guide the strapping through the machine during the strapping process.
Step 3: Insert the strapping into the feed mechanism
Take the end of the strapping and insert it into the feed mechanism. Ensure that the strapping is properly aligned with the feed wheel or roller to prevent any jams or misfeeds.
Step 4: Thread the strapping through the machine
Once the strapping is inserted into the feed mechanism, begin threading it through the machine according to the manufacturer's instructions. This may involve passing the strapping through various guides, tensioning devices, and sealing mechanisms.
Step 5: Tension and seal the strapping
Once the strapping is threaded through the machine, use the machine's controls to tension the strapping to the desired level. This will ensure that the strapping is securely wrapped around the package or bundle. After tensioning, activate the sealing mechanism to securely seal the strapping in place.
Step 6: Test the strapping
Before proceeding with full-scale strapping operations, it is recommended to test the strapping's tension and seal. Make any necessary adjustments to the machine settings to achieve optimal results.
Congratulations! You have successfully loaded strapping onto the 3-GPSAS-303 semi-automatic strapping machine. With this knowledge, you can now confidently operate the machine and efficiently strap your packages or bundles.
In conclusion, loading strapping onto a semi-automatic strapping machine like the 3-GPSAS-303 is a straightforward process that requires attention to detail and adherence to the manufacturer's instructions. By following the steps outlined in this article, you can ensure that your strapping machine operates smoothly and effectively.
Check the coil packing solution with a leading manufacturer for a professional solution. Strapping Machines
"Efficient Strapping Machine Operation: Loading Strapping onto a Semi-Automatic 3-GPSAS-303"
Related posts:
 “Revolutionary Battery-Powered Pet Strapping Machine for Superior Performance and Efficiency”
 “Revolutionary Chinese Manufacturer Redefines Box Strapping with Automatic Machine Innovation”
 “Efficient and Versatile Strapping Machine for Enhanced Packaging Solutions”
 “Revolutionary Strapping Machines for Enhanced Efficiency and Durability: Unveiling Leading Manufacturers”
 Effortless Strapping Made Possible: Discover the Ultimate Strapping Machines for Efficient Work
 Revolutionary Packaging and Strapping Machine: Innovation for Industrial Efficiency
 “Efficient and Versatile Carton Box Strapping Machine: Boost Productivity with the MH 101A Model”
 “Innovative Pallet Strapping Solution: A Next-Gen Semi-Automatic System for Efficient Strapping”
 “Efficient Post-Press Strapping Machine: Enhanced TP-701 Model (#22281) for Sale!”
 “Innovative Strapping Machine Manufacturer: Revolutionizing Sealing and Packaging Solutions”